Sunday, February 20, 2011

Crepe Sew-Along - Cutting out the muslin


High on sewing success, I swung back into the Crepe Sew-Along project. Gertie has long since finished posting the sew-along steps on her blog, but that's the great thing about internet sew-alongs, you can technically join at any point and follow the posts.

Today I cut out the muslin of the bodice, following the steps posted by Gertie here.

It was just the right amount of sewing for me today. I found the instructions easy to follow. I noticed that Gertie uses tracing paper to transfer pattern markings to her muslin. I'd never thought about doing that. Make sense now that I see it. I didn't having any tracing paper so used the usual method (tailors tacks and eye-balling).


Gertie's next step was to thread trace the seam allowance. This is another new thing for me. I've never thought about machine sewing as a way of marking the seam allowance and certainly hadn't considered whether a muslin needed stabilising. Then again, I've usually made my "muslins" out of calico, poplin, twill or other fairly sturdy cotton rather than actual muslin (the only stuff I've ever found is that ultra fine muslin for baby wraps or the crinkly cheesecloth stuff). Still, open to trying new things so by the end of today I had my bodice muslin pieces cut out, markings transferred and seam allowance thread marked.

Just the right amount of sewing to fit the time I had between other activities.

Tuesday, February 15, 2011

Screen Siren 1960s Frock - Finished Dress


It's finished! I have a dress! Despite knowing that there is plenty of past evidence to support that I can in fact sew, I had lost confidence in my abilities. I am happy to say I have now regained my sewing mojo. Last Sunday was the last class in this project at Thread Den. It was the dreaded fitting and zipper and class. I'm pleased to say it all went fairly smoothly.

We did the shoulder seams, which I'm glad were explained as they were done differently to how I thought they were done. Then it was time to pin the side seams and put it on to check fit. The first good sign was that I could get it on over my clothes. The instructor was great in helping with the fitting. I'd forgotten how useful an extra person is for this stage. She let it out a bit at the hips (which I expected would need a bit more room), took it in little under the arms, and adjusted the darts to fit better around the bust and to move slightly higher on the back (probably a result of having taken an inch out of the length at the waist). Side sides and darts sewn up, it was time for the dreaded zipper.

Okay, turns out zippers are not anywhere near as complicated as I thought. This was a regular zipper, machine sewn in. No funky invisible zips, or lapped thingies. It was a simple case of pressing the fabric back at the sewn allowance, then lining the zipper up so the pressed edge of the fabric just covered the teeth, pinning it in, then machine sewing about 3/8" from the edge. Too easy! The only slight hiccup was that somewhere in my pinning and sewing, the zipper must have moved a bit and the top of the back pieces don't line up evenly. Could also be an error in my cutting out the back pieces.

I finished up the class with the final fitting checked and the hem pinned and only the hand sewing parts left to do (shoulder seams, hem, and hook & eye above the zipper). Once I got home, I decided I wanted to get the dress finished. I did the hand sewing in front of the TV after dinner. I must admit it took me a bit longer than I expected. I've clearly lost my previous hemming speed. And as is the Murphy's Law of sewing, the last thing you need to do gives you the most grief (the other law is that you will run out of thread an inch before the end). In this case, the damn hook and eye above the zipper was being difficult. I was tired by this point and losing my dexterity. I found it tricky to hold the little hook & eye bits in place and then sew them in. Then I sewed the hook in around the wrong way. Argh! But I got it done eventually. The top of the back pieces still isn't sitting great, but it's passable.

And now the photos! Please pardon the unpressed hem, the tired expression and the poor lighting. I will try to take some "dressed up" photos that better showcase the dress. Update: Here it is, all finished and out at Circa Nocturna. The black belt is from another frock. I felt it needed a belt. The flower is a brooch that just happened to match the fabric really well.
 I'm pretty happy with how it turned out. Definitely has that "Joan Holloway" wiggle dress look to it. I'd like to try the full skirted version of this pattern as well.

I think we can safely say that my sewing mojo has returned. Bring on the frocks!

Sunday, February 6, 2011

Screen Siren 1960s Frock - Sewing with a safety net

Well, it's finally happened. I've done some actual sewing! Today I went to the second class (of three) for the Screen Siren 1960s Frock. The first class was mostly spent cutting out the pattern and fabric, transferring markings etc.. And yes that took 3 hours. It's the most tedious part of sewing for me.

Anyway, today involved actual sewing. I'm glad now that I'm doing this dress as part of a class where I can ask questions and get someone to check what I'm doing. I had read the instructions that came with the pattern. Some bits were fine, others left me baffled. The diagrams didn't help. It was great to have someone demonstrate the various steps. Made it a lot more obvious.

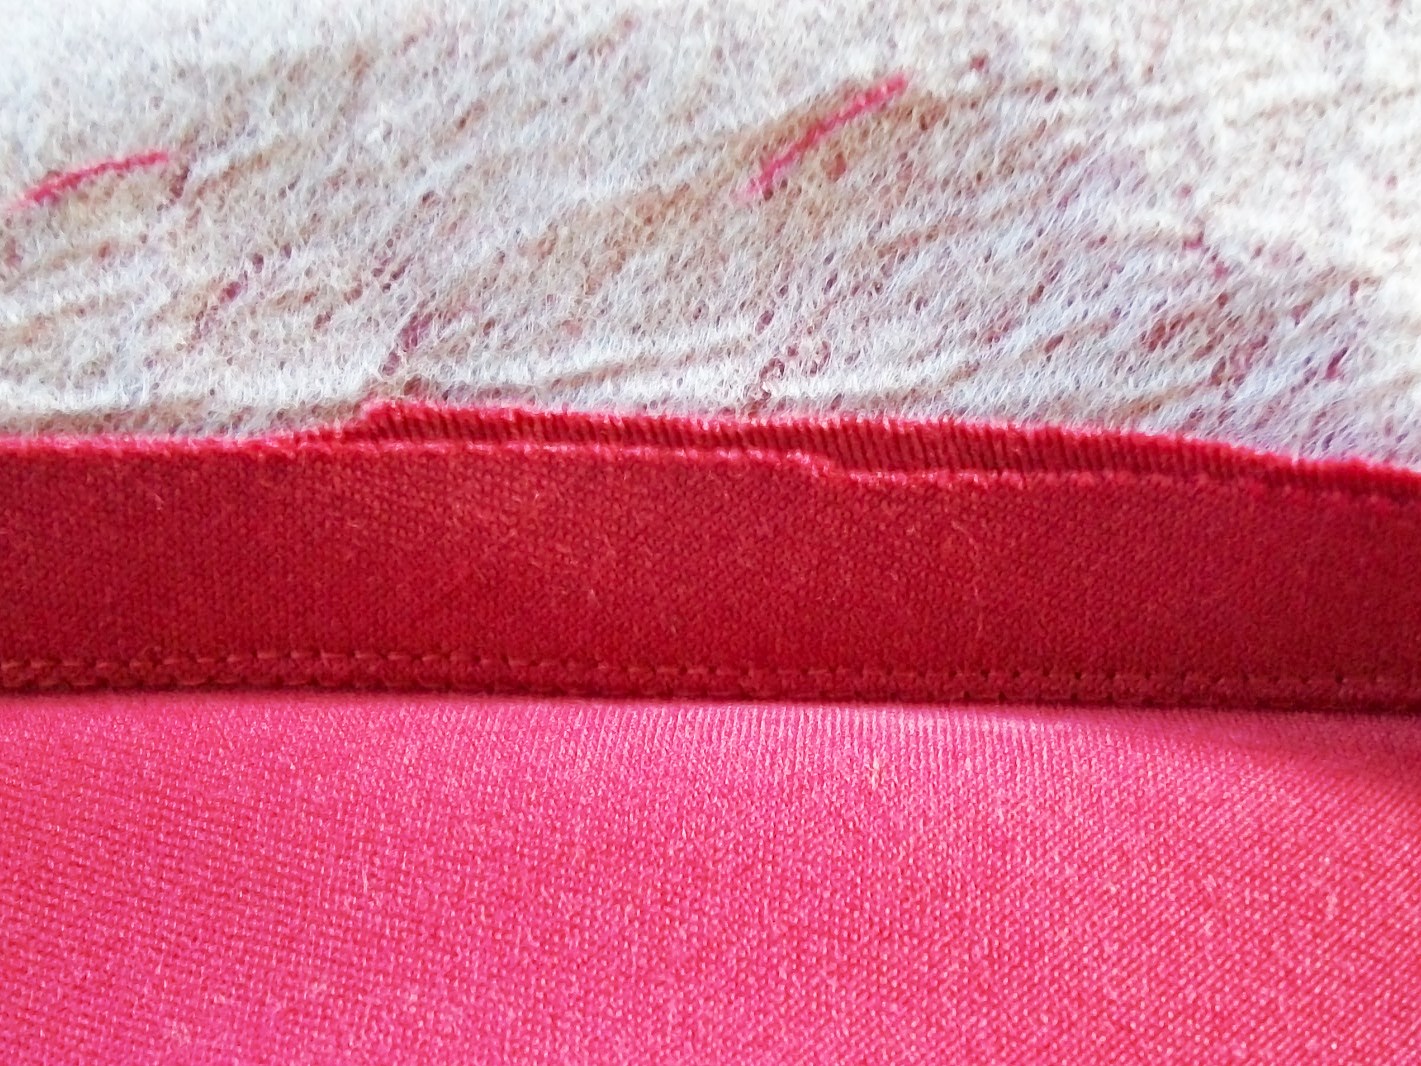
My progress today was to attach the linings to the main body pieces and understitching them. I had heard the term understitching before, but didn't really know what it meant. This was one of those things I think the pattern company assumed you already knew. Turns out it is a way of making sure the lining doesn't roll over to the front of the garment. Basically you sew your lining and main piece together as normal. Then fold/press the seam over to the lining side. You then sew really close and parallel to the seam line on the lining side of the seam. It looks like this (there are two rows of stitching there, the seam line is right in the crease):
Then once you flip your fabric so that the right sides are on the outside and the seam on the inside it looks like this (front & back, where you can just make out the stitch line) and gives you a nice strong and smooth edge. Really does stop the lining from rolling over to the front and still looks quite neat on the inside.

I'm generally happy with my progress today. I managed to attach all the linings without much unpicking. Apparently before next class we need to have the back skirt slit done as well, so I have a little bit of homework.

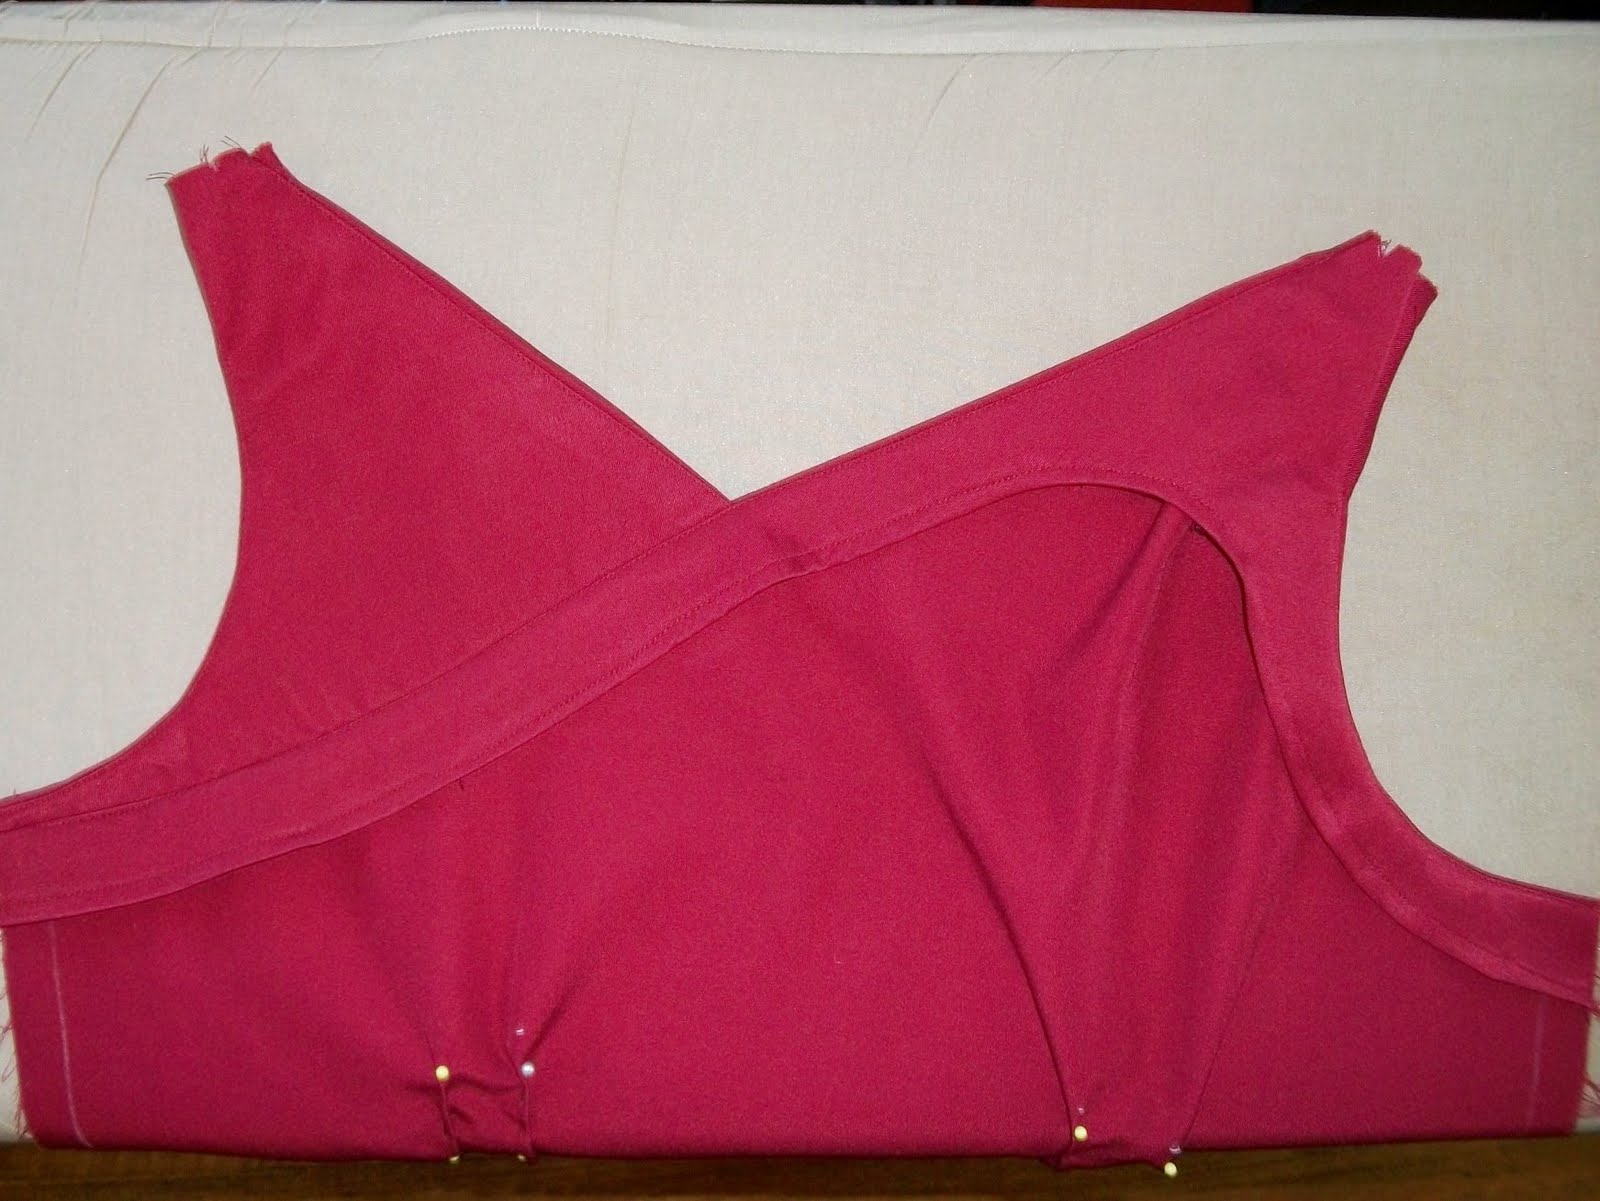
These are the front and back pieces so far. The darts are just pinned at the moment (and those are my tailor's tacks looking all wiggly there)

I'm not happy with how the shoulder gathers are sitting on the front piece, especially the left shoulder (right in the photos). I tried doing a normal gather, but didn't like the uneven result, so decided to just fold a few pleats in. However, I think the angle of the pleats now doesn't match the angle of the neckline and that's making it look a bit wrong. Easy enough fix though as the shoulder pieces are still open. I am really happy with how the lining of the front piece is looking. Nice and clean.


Next Sunday we pin all the pieces together and do a fitting before sewing it up and adding the zipper in the back. I think this is the part I'm most worried about. I have a long history of making beautifully finished garments that fit dreadfully. And I hate that sinking feeling when you pin something together and put it on and realise immediately that it doesn't fit. In my case, it is usually too tight which is so much harder to fix than too loose. And I'm making the sheath dress version of this pattern, which is very fitted. The only alteration I've done so far has been to shorten the waist. I help the pattern piece against me and folded it up until the "waist" line was sitting at my waist. Took at least an inch of the original pattern. Hopefully this means the curves will be in the right places. The pattern has four pairs of vertical darts. I'm hoping that between the side sides, back seam and the eight darts, I should be able to get a good close fit. *fingers crossed*

I'm also apprehensive about zippers. The last time I remember putting a zipper in was my Year 8 sewing class in high school. I remember I got good comments on my zipper, but my brain has long since erased the know-how of zipper insertions. I will be grateful for having some help and advice on hand.

The best thing about today was realising that I haven't forgotten all my sewing know-how and can actually do this. I think it was good to have someone there to provide some guidance like where to start, and demonstrate some techniques and just check that we're doing things in the right order. It's a bit like sewing with a safety-net.